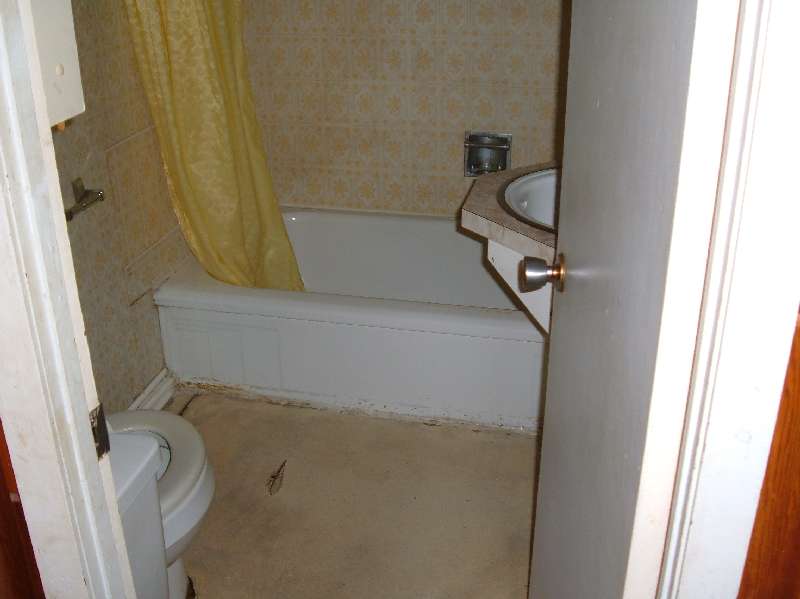
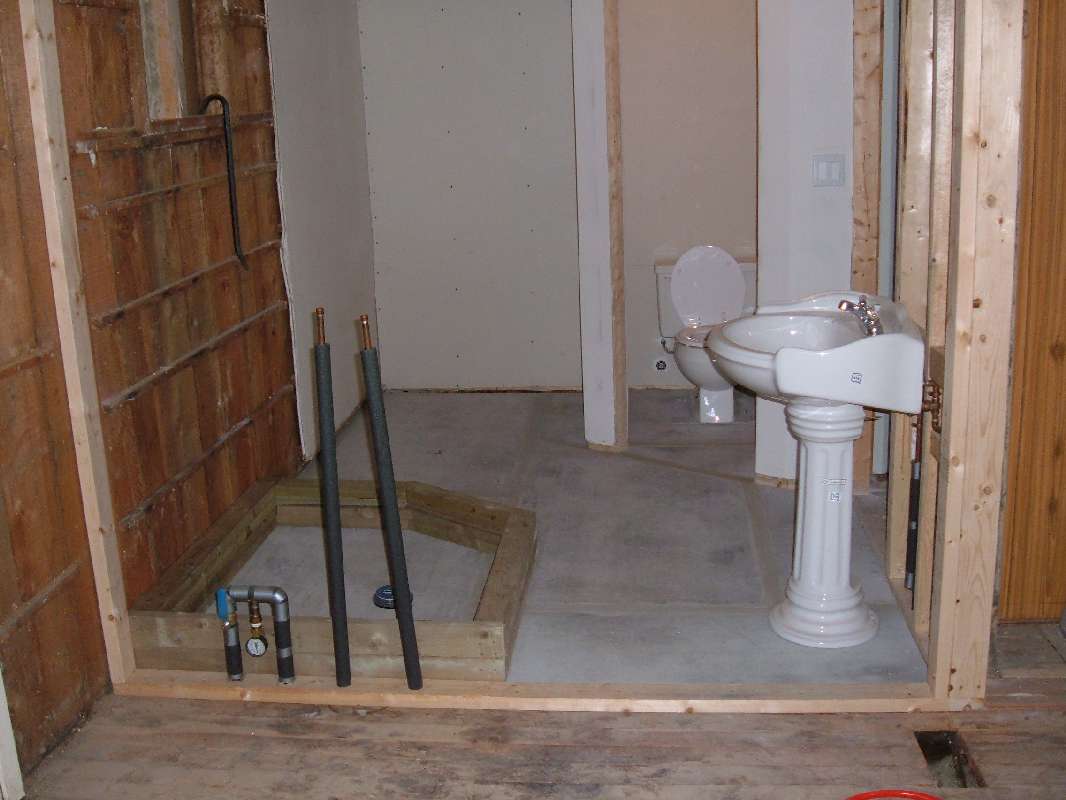
Yes... That's The Entire Horrible Hideous Bathroom.
Well... The bathroom was the crux of the failure in this house. It was not only completely broken (everything leaked) it had been remodeled so many times (to hide the problems) that the renovations were the only thing holding it together.

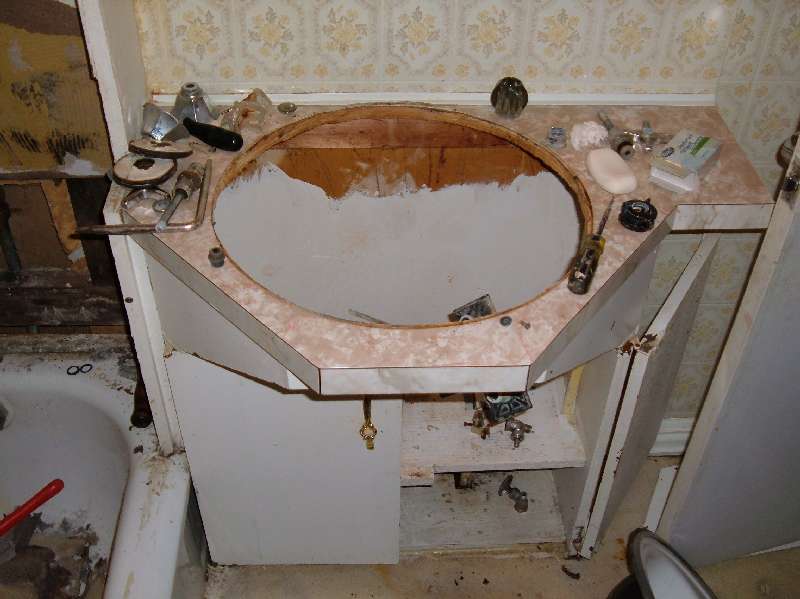
Before any work could be done the plumbing leaks needed to be eliminated. For the most part new shut-off valves were installed. The bathtub however does not have shut-offs. It is a built in valve assembly (like everybody else's) so it needed to be rebuilt. Well new washers were a breeze to round up but unfortunately the valve seats were pitted and none of this vintage were readily available. So I got out the file and sandpaper and began machining. Wow was I surprised how easy it was to resurface the seats. And that did the trick. Now there were no leaks and the demolition could continue.

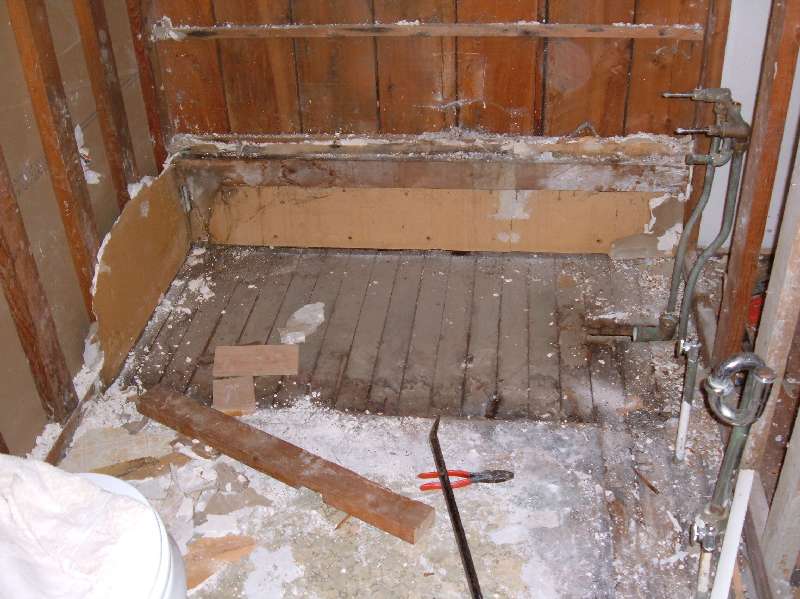
Kind of a typical gut job.
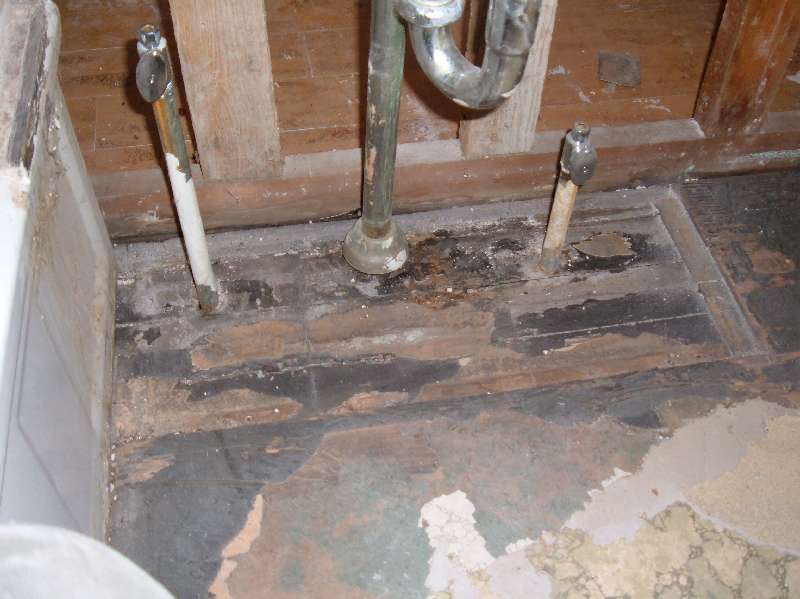
Removing a small portion of the floor revealed a completely rotted sub floor as well as four layers of linoleum sandwiched around some layers of 1/4 plywood. This on top of the original sub floor and a T&G (tongue and groove) hardwood original floor.

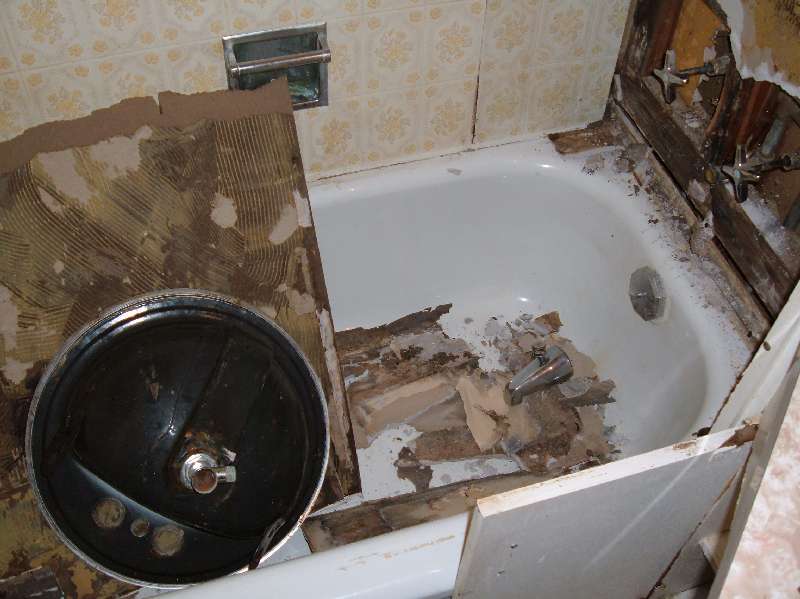
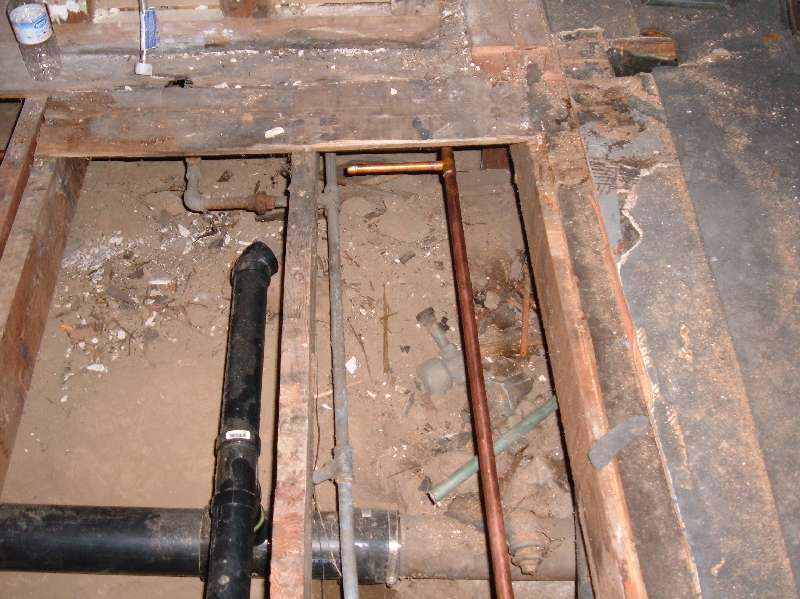
It also appeared (at closer look) that the bathroom had been moved. Along with the plumbing which was now kludged with dozens of unions (which at this point were very delicate) connecting the old with some new copper.
All in all it was a disaster. If we are going to repair this house then the plumbing will have to be completely replaced.
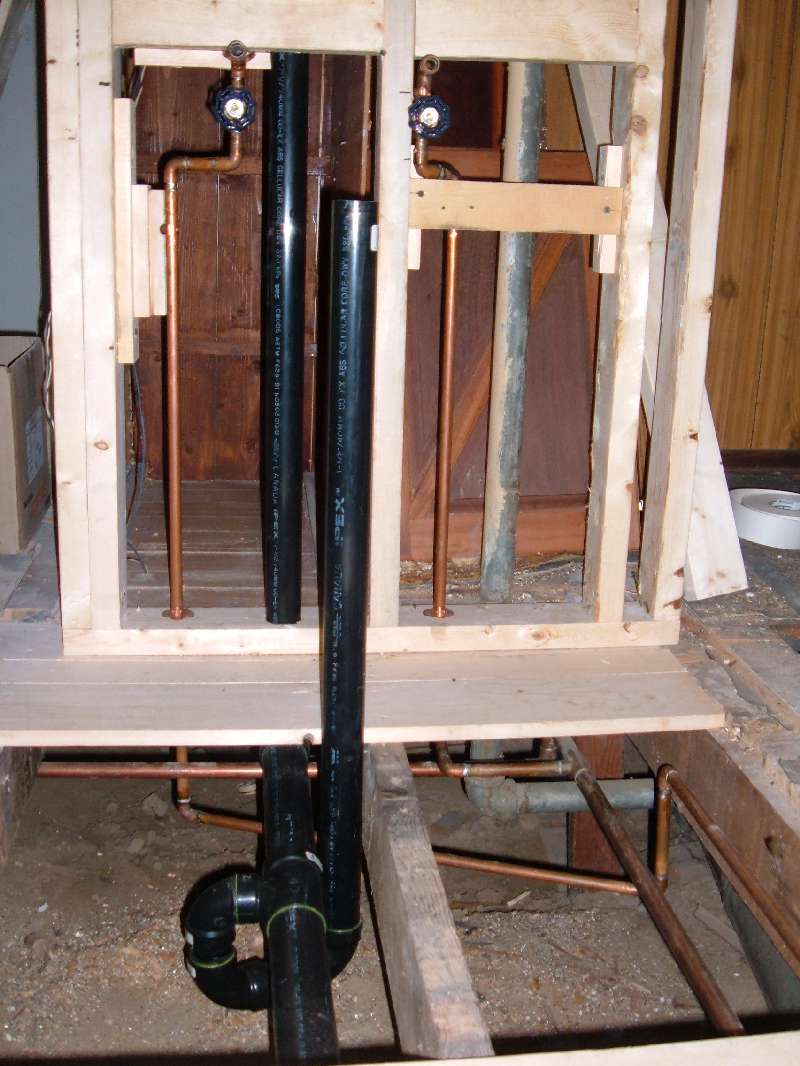
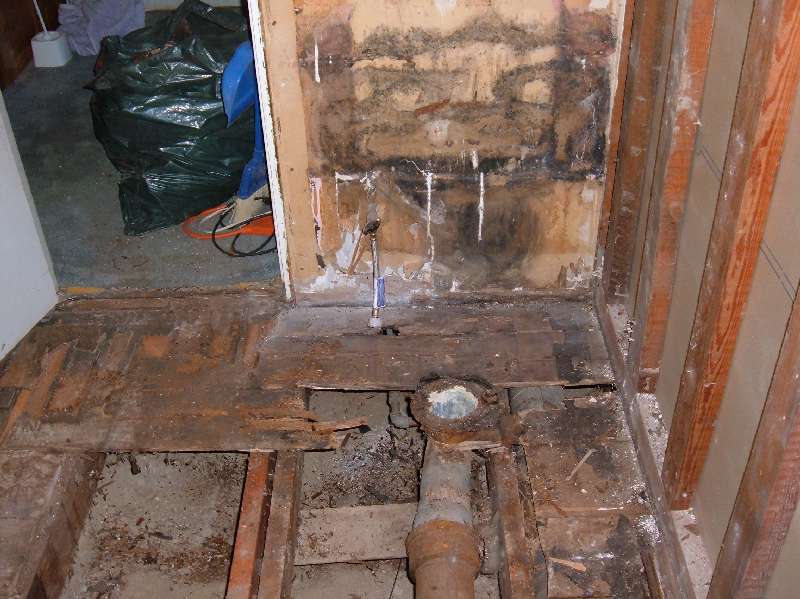
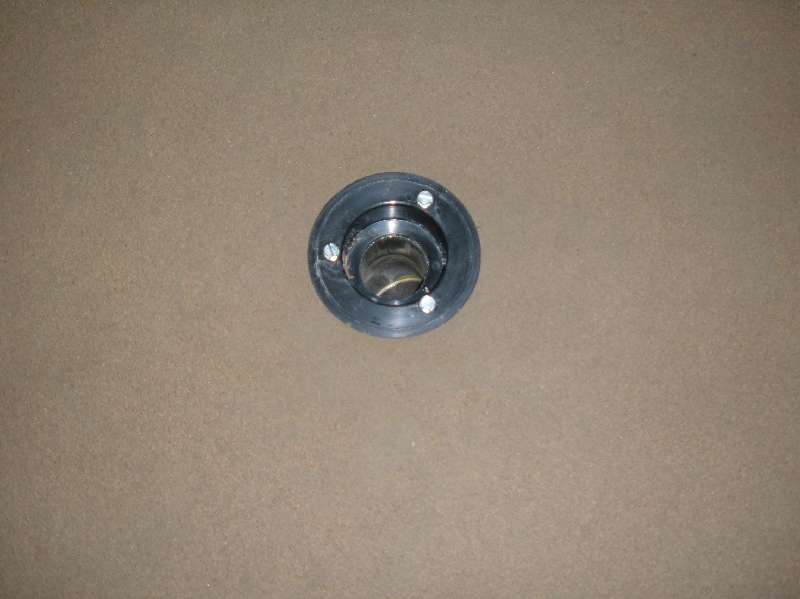
So... We installed new drains, vents and supply lines. At each supply line we also added a brass gate-valve (as a built in shut-off). The main body of the valve is positioned to be recessed behind the wall with only the stem and knob exposed. This allows minimal intrusion and long-term reliability. How many times I've went to use a shut-off and it leaks. The constant flow across the seal deteriorates it over time. It works great the day you install it but the first time you go to use it (years later) it leaks. Not enough to replace, but just enough to cause additional cleanup. So for about $2.80 CDN for each valve (and only a few extra minutes while we are already here) it seemed like a good long-term investment.

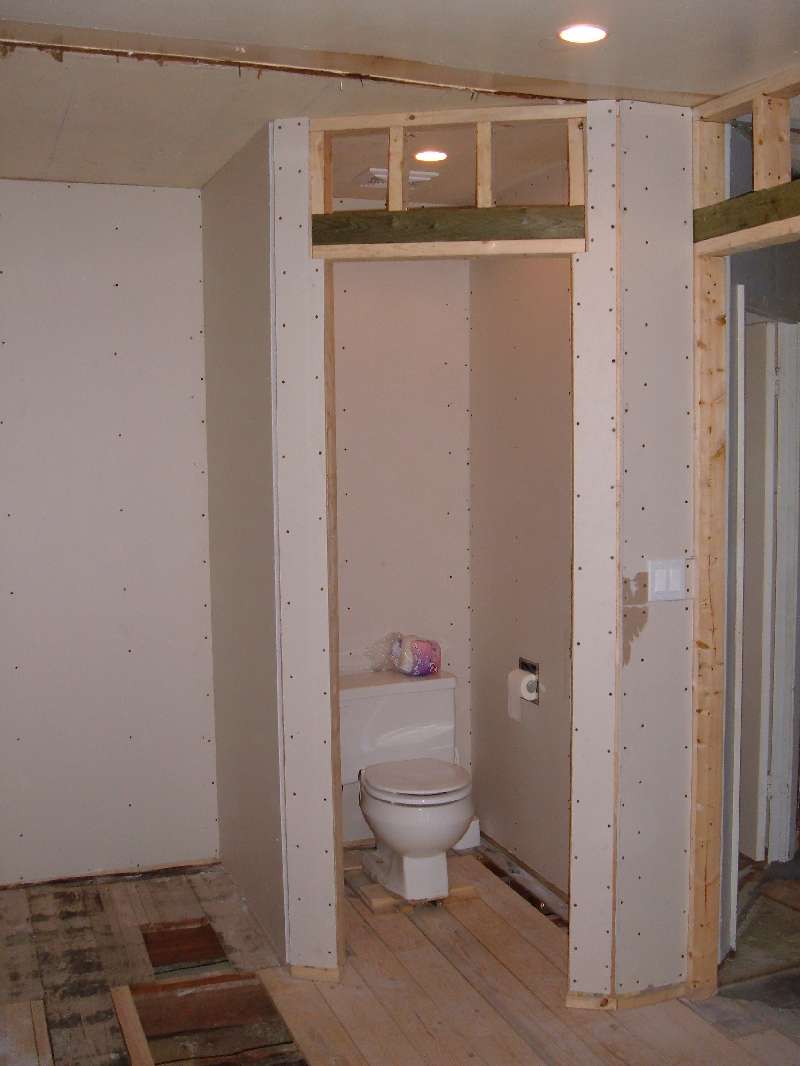
And finally, after about six weeks, the toilet (in it's new place) flushes again.

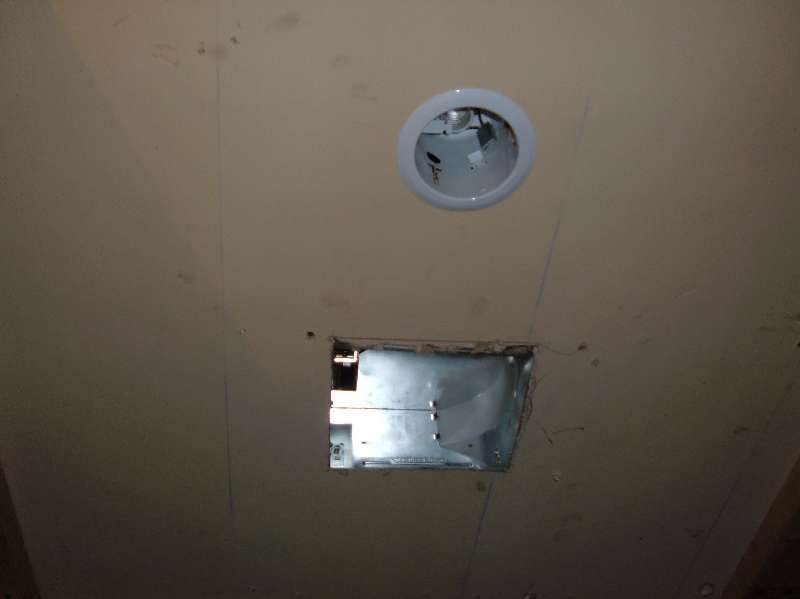
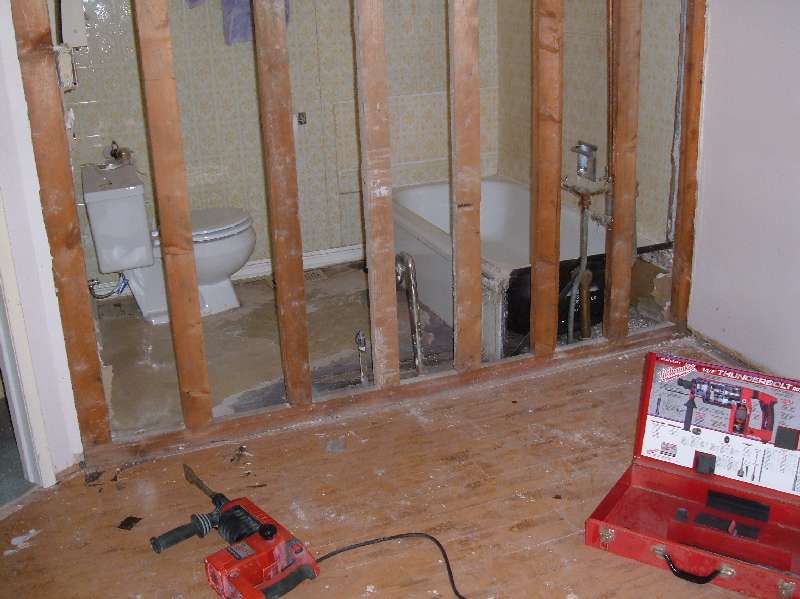
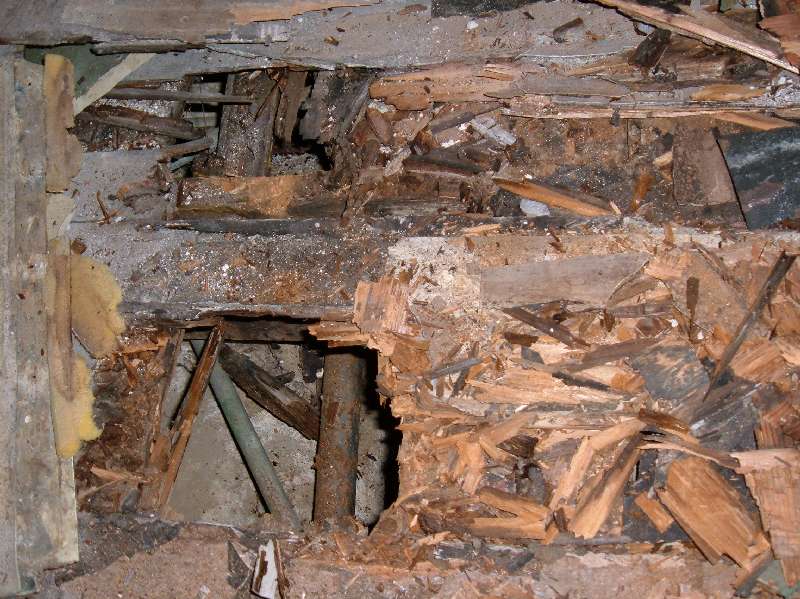
Like everything in this house the electrical service needed total upgrading. And that needed to be done before the new walls were closed up. This is not easy work. The crawlspace below the house is minimal and the attic is a complete mess.


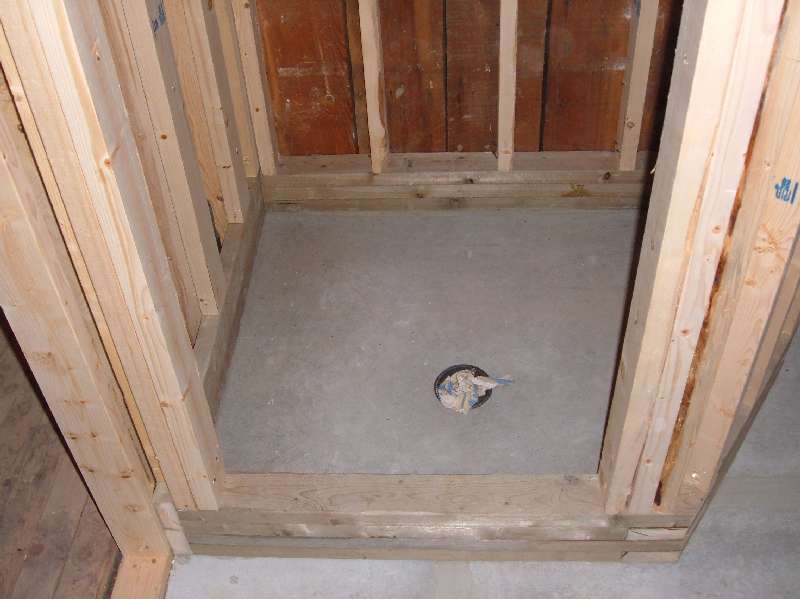
Now we are starting to make some progress. The walls are starting to go back up. The sub-floor is being replaced. The floor joists have been repaired and the plumbing (supply and waste) has been replaced.
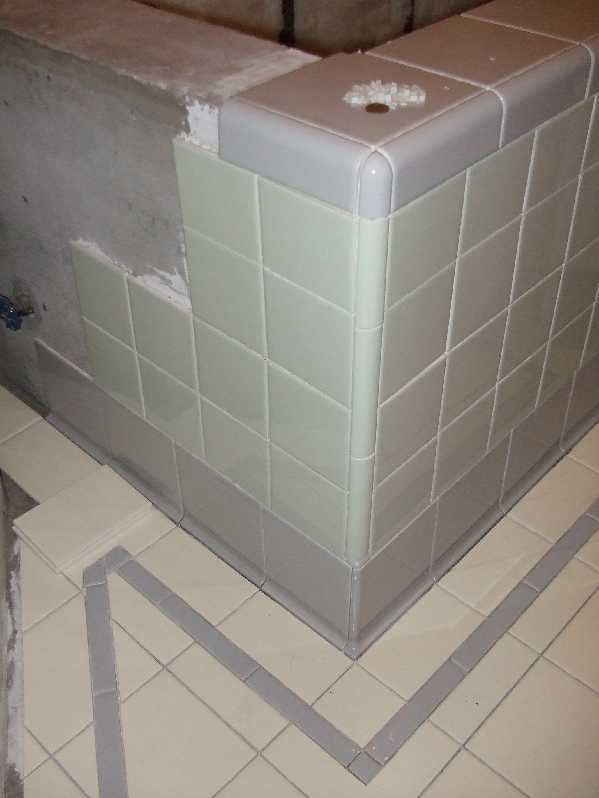
The goal for this bathroom is a complete tile shell. The importance of tile is investment preservation. Tile is hard to damage and easy to sanitize. It's easy to tell when tile is dirty and equally easy to tell when tile is clean.
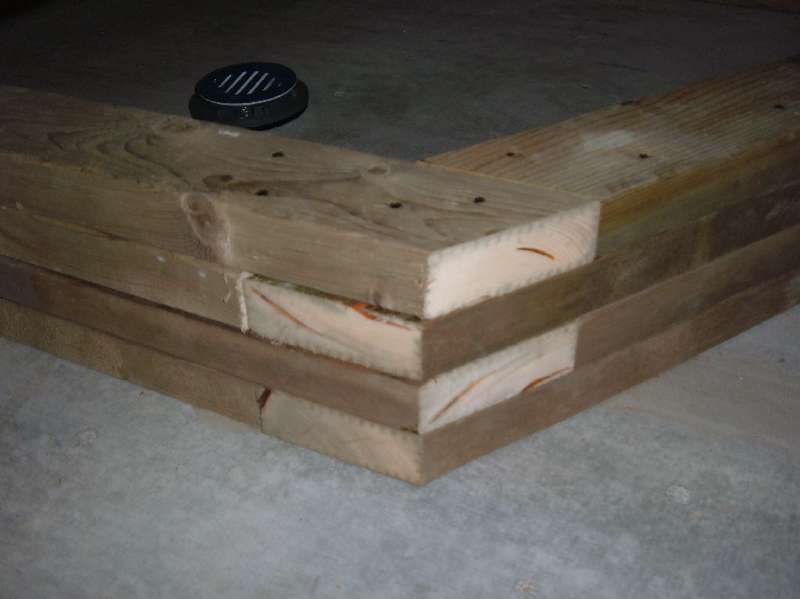
So... With the floor completed and re-enforced by mortar and concrete board (wonder board) it's finally time to create the shower.
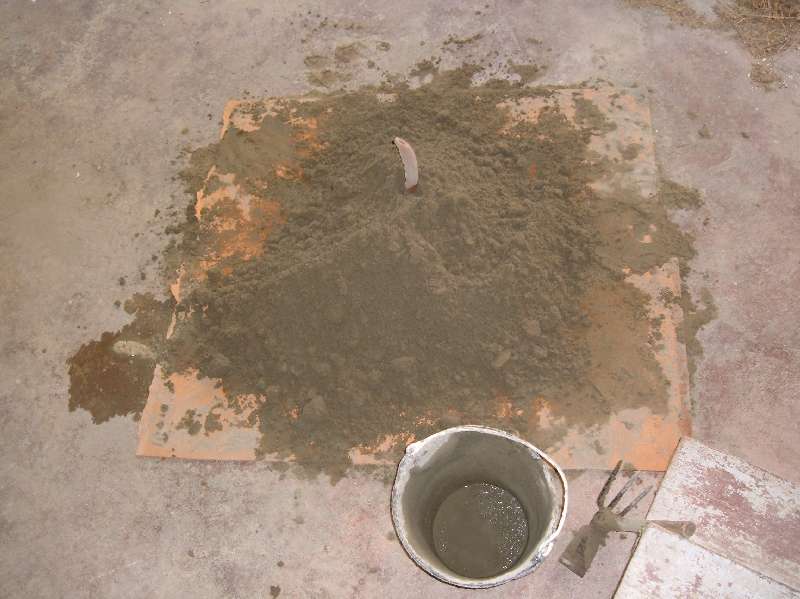
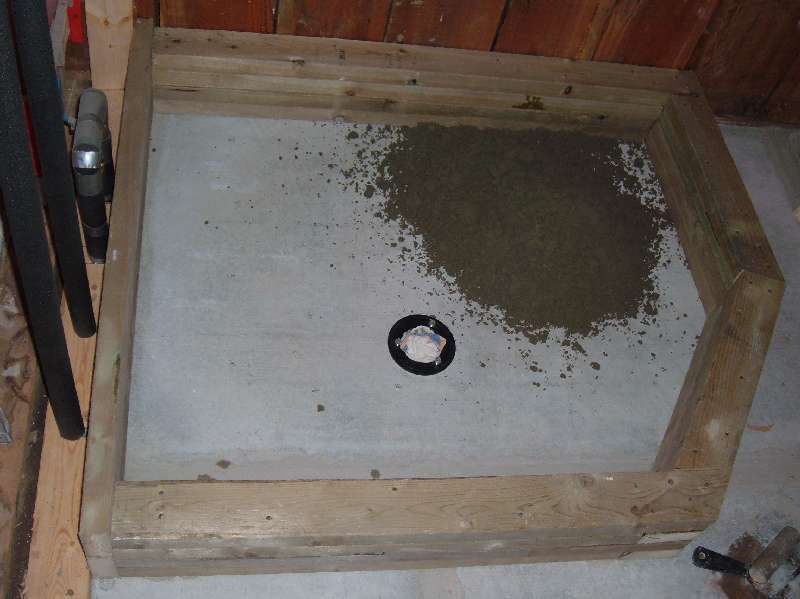
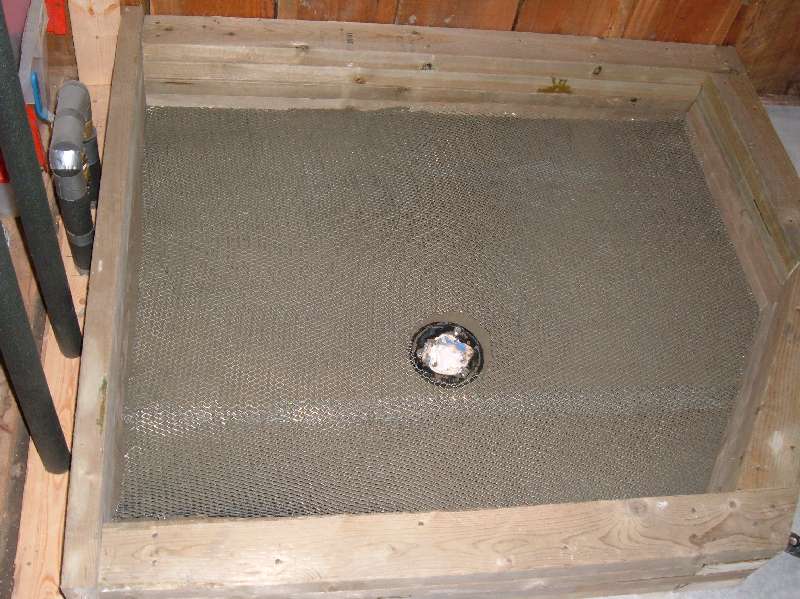


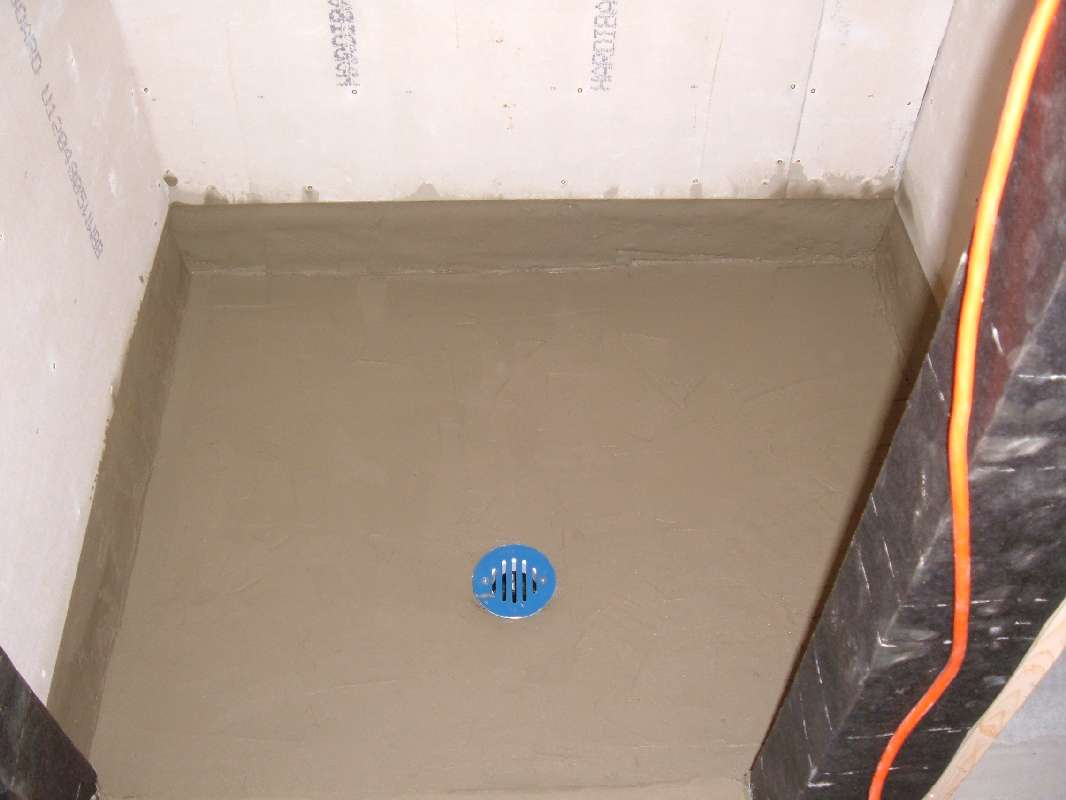
We did a little bit of research about this and came up with a traditional approach. First we built the base. Then we made a 'dry mortar mix' with 'Portland cement' and 'damp playground sand' and water using an age-old recipe (ratio). I, of course, decided to add to the mix a steel re-enforcement. In this case. Stucco-Mesh. Wow... That stuff had a personality completely opposing our task. To recap... Wild horses are more tame then stucco-mesh. Any ways... After much rangling we think we have a bed suitable for a tile shower.
Ok... Now that we have a bedding for the shower we can frame it (it was easier to work the shower floor bedding without framing).
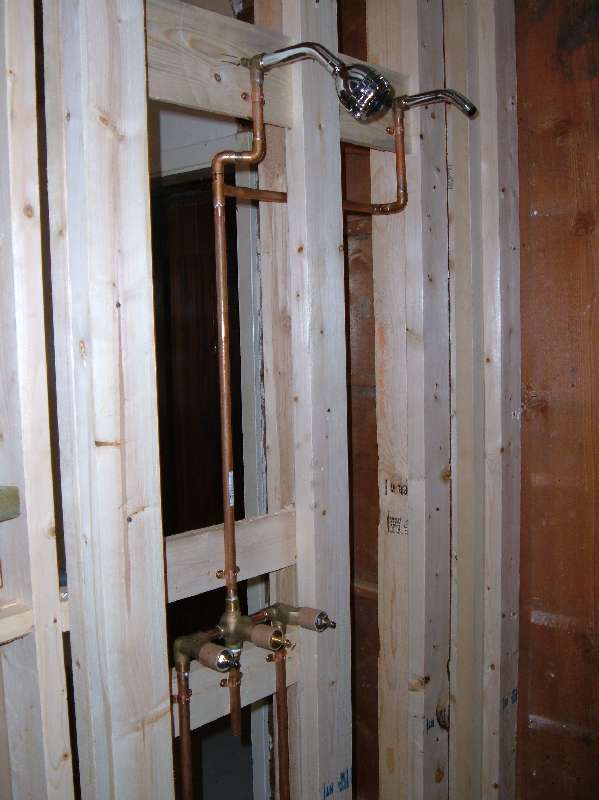
That went well so we plumbed in the supply lines. We got a little fancy here. Maybe we shouldn't have. We have left and right and front and back heads. This may turn out to be a mistake or a saviour. I can't wait to find out.
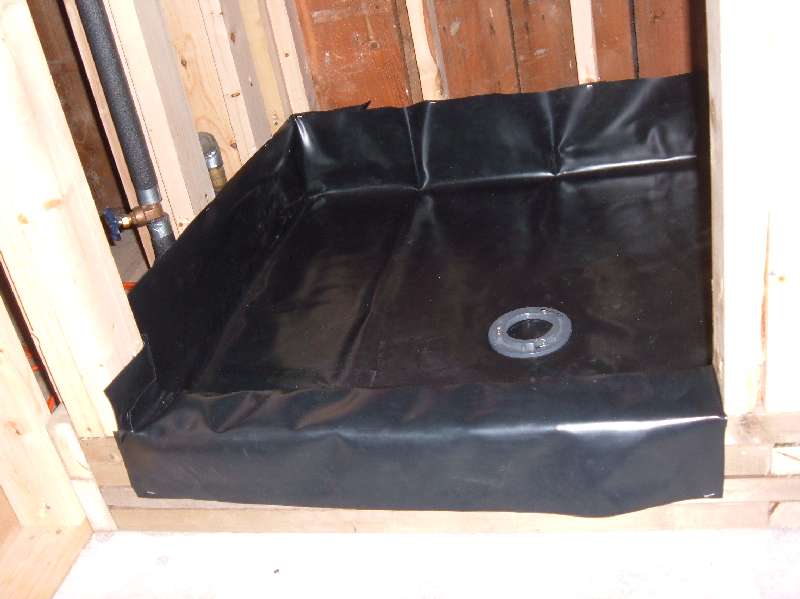
Here goes the second phase of the 'shower-pan'. A rubber membrane, with 'hospital fold' corners, properly sloped to the drain, sealing the first layer. In older days this would have been done with copper sheet.
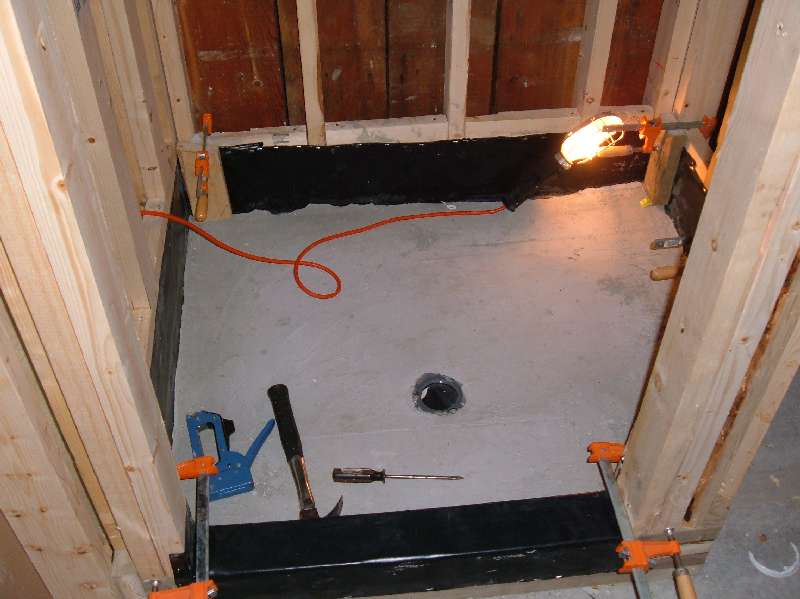
Of course... Being completely inexperienced in tile showers we had nothing but trouble. So in order to get the next layer (over the membrane) of mortar to sit right we had to get out the clamps and persuade a bit. We must have missed a chapter in the tutorial.

Finally satisfied. We have insulated (why not) the shower framing.

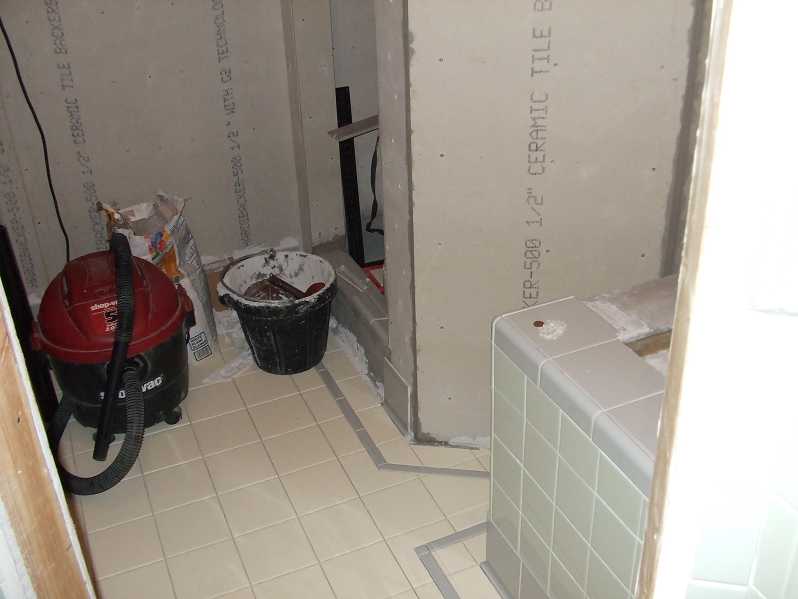
We have also, in yet another broken moment of clarity, lined the shower with roofing-felt (tar paper) before we covered it with 'Hardy' tile backer board. A much denser material then gyp-board (sheet rock).
Now that we have the tenant removed we can finally begin the bathroom tiling. Because of circumstance this project is about three years behind schedule. Ouch!

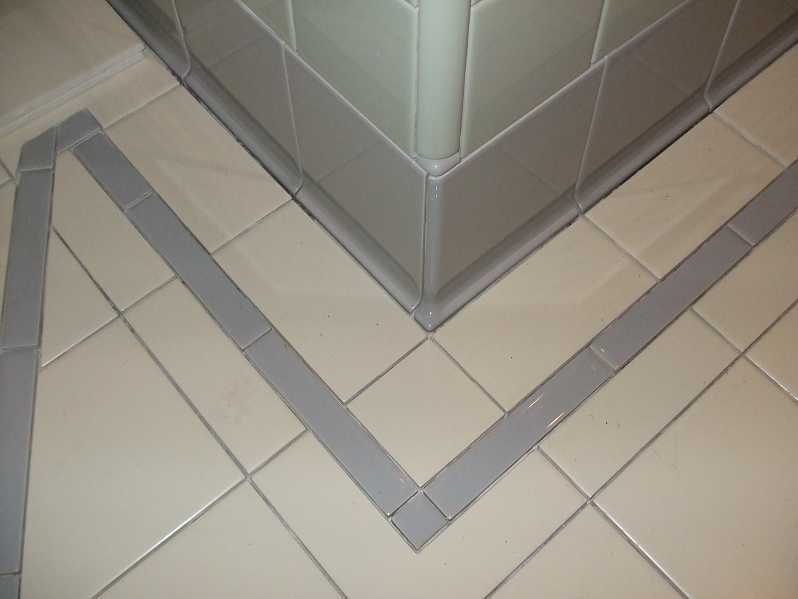
The first step was the floor. Basically... It went very well. However; because the bathroom, as large as it had become, had been divided into so many parts (water-closet, bathtub, shower, sink, etc...) the remaining floor was comprised of narrow arteries to the various facilities.
The problem here was that the reference point for the floor was the tub surround corner which was roughly in the center of the room. This point alone determined where the floor tile origin had to be and so we ban there. The Problem was that in order to keep the lines geometrically pleasing (straight) we could only go so far each day before the tiles we just set were blocking the way of the progression.
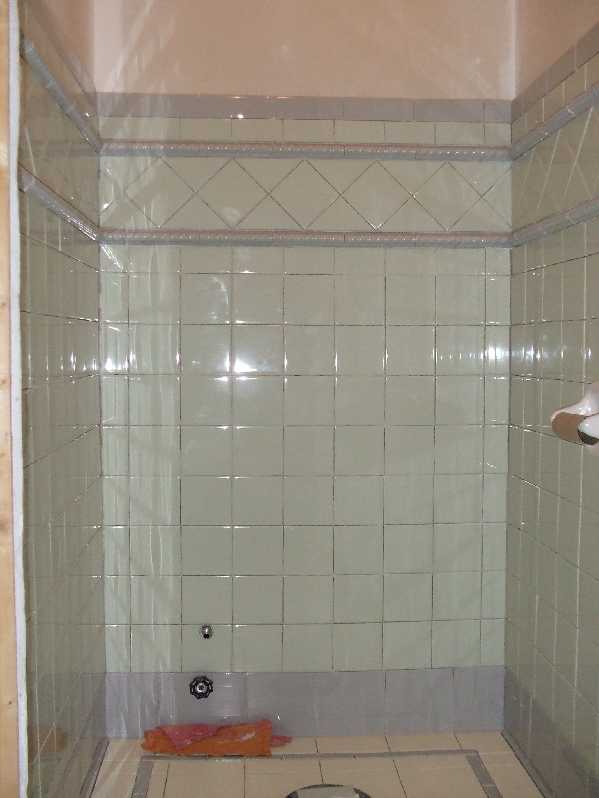
So... After weeks of crawling along, at maybe a realistic 35 tiles a day average, we were finally ready to tile the walls.
The water closet became the test bed for the wall tiling. As it turned out... A worst case scenario.
Before we acquired this house it had already suffered severe trauma. The bathroom was it's major victim. I knew that. However: Continuing on, and adjusting the averages, worked fine, until now.
This became the biggest lesson I learned on this project. On everything else there was enough room for 'fudge' (fudge factor) but when it was time for tiling the bathroom it became painfully obvious how important true, square and level really is,
The Plumbing Is Beyond Repair -->
Last Update:

